ARM Assembly #0 - Build Environment and First Code
In this post, I will show you how to write and run your first ARM assembly code. This is the foundation for the rest of this tutorial series. We will write a very simple assembly program, compile it, run it in QEMU, and prepare for debugging with GDB.
Why Learn Assembly?
I started learning assembly while building a small C compiler. I had trouble implementing the code generation phase.
The main problem was:
“How do I convert C code into proper assembly?”
Later, I realized that knowing assembly helps with:
- writing more optimized code
- debugging low-level issues
- reverse engineering
People say: “If you know assembly, all software is open-source.”
(But of course, you also need to understand the ISA — Instruction Set Architecture.)
A Minimal Assembly Program
Let’s start with the simplest possible ARM assembly code.
only-main.s
  .text
  .global _start
_start:
  b .
This code does nothing useful — but it’s a great starting point.
It creates an infinite loop with just one instruction. We’ll use this as a template for later exercises.
In C or Python, we start with “Hello, World!”
But in assembly, even that is too complex for day one.
Development Environment
I use Debian Linux for this tutorial. It will also work on Ubuntu and other Linux systems.
We need 3 tools:
- arm-none-eabi-gcc (cross-compiler for ARM)
- qemu-system-arm (virtual ARM board)
- gdb-multiarch (debugger that supports ARM)
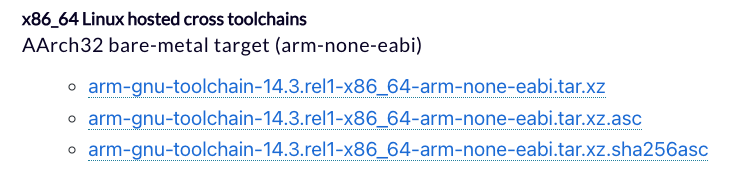
1. Install ARM GCC
Most desktop PCs are x86, not ARM. So we can’t use the default GCC to build ARM binaries.
We need a cross-compiler for ARM. Download it from the official ARM toolchain page.
Choose:
- OS: Linux (x86_64)
- Target: bare-metal
- Format: arm-none-eabi-gcc.tar.gz
If you use terminal only:
$ wget https://developer.arm.com/path/to/your/toolchain.tar.gz
Extract the archive and add the bin folder to your PATH.
Check the version:
$ arm-none-eabi-gcc --version
2. Install QEMU
QEMU is a powerful virtual machine for many architectures. We’ll use it to emulate ARM hardware.
Install it using apt:
$ sudo apt-get install qemu-system qemu-user-static
You can also find it on the official QEMU website.
3. Install GDB (Multiarch)
We also need a debugger for ARM. Install gdb-multiarch:
$ sudo apt-get install gdb-multiarch
You’ll use this later to connect to QEMU and inspect memory or registers.
Compile the Assembly Code
Now, let’s compile our .s file to a binary (ELF format):
$ arm-none-eabi-gcc \
	-O0 \
	-nostdlib \
	-march=armv4 \
	-Ttext=0x10000 \
	only-main.s \
	-o only-main.elf
Options explained:
-O0: no optimization-nostdlib: no standard C library-march=armv4: target architecture-Ttext=0x10000: start .text at address 0x10000
Check the output:
$ file only-main.elf
only-main.elf: ELF 32-bit LSB executable, ARM, EABI5 version 1 (SYSV), statically linked, not stripped
Code Structure Explained
Let’s understand the 4 lines of our code.
.text → Code section
.text
This means “put the following instructions in the code section.” This is where the CPU fetches instructions.
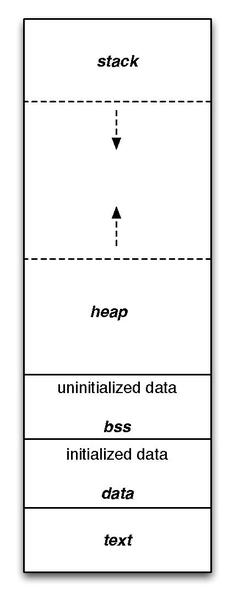
We’ll learn more about memory layout (
.text,.data,.bss) later.
.global _start → Make the label visible
.global _start
This tells the linker: ”_start is the entry point of the program.”
In C, we use main() — in assembly, we use _start.
_start: → Label definition
_start:
This defines a label. It marks a location in the code so other instructions can jump to it.
b . → Infinite loop
b .
b means branch (jump).
.(dot) means “this current line” — so the program jumps to itself forever.
This creates a simple infinite loop.
This is useful. It keeps the program alive so we can connect GDB and inspect the system.
Summary
We wrote the smallest possible ARM assembly program. We installed the tools, compiled the code, and prepared to debug it.
This basic template will be reused in many future posts.
In the next post, we will:
- Add register access
- Connect QEMU and GDB
- Start real debugging
Thanks for reading!